Category Archive engineered hardwood

ByClassic Flooring

How to Clean, Care, and Maintain Hardwood Floors

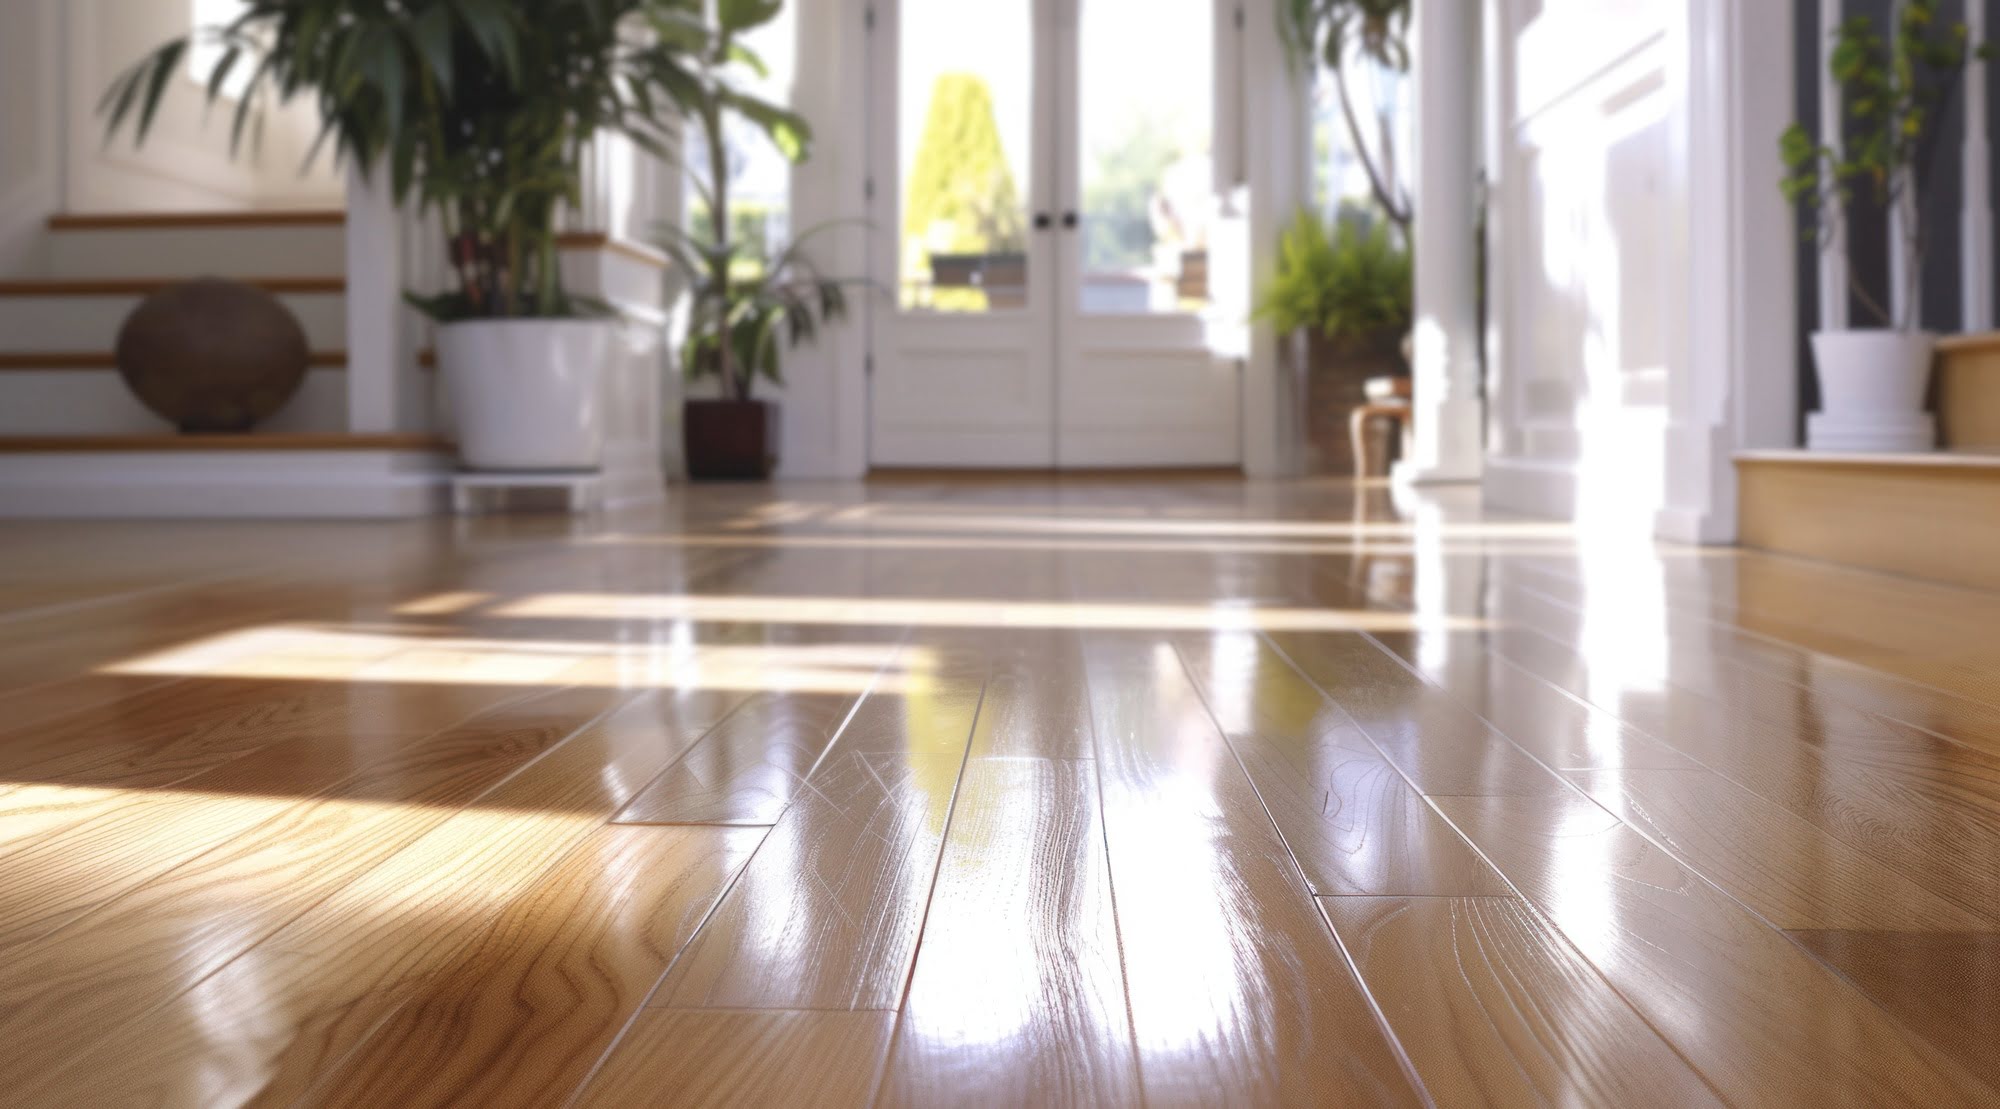
Cleaning hardwood floors complements every home with its stunning beauty and comfort. But every season brings in new cleaning concerns including ice, dirt, and water not to mention daily traffic, spills, and scratches. 

Learning how best to clean, care, and maintain hardwood floors ensures that they always look their best and gives you a gasp of joy every time you come home. But since every home experiences different levels of traffic, it’s important to pick a routine that works best for you.

Here is the best cleaning and maintenance routine that will keep you and your hardwood floor happy for years to come.

1. Spot Clean Promptly

As soon as you notice a spill or sticky stain, clean it promptly using a soft cloth. Unattended spills can discolor the finish or warp your hardwood floors. Make sure to clean them fast and correctly.

2. Dust the Floors Daily

Dusting is one of the most important routines in caring for hardwood floors. A quick dusting ensures that you pick up dirt, dust, and pet dander that can damage your floors. If sweeping daily seems excessive, aim for the high-traffic areas as often as possible. A broom or dust mop is perfect for a gentle clean that extends the life and beauty of your floors. 

3. Vacuum Weekly

Vacuuming every few days to once a week helps to clean up dirt and debris stuck between the floorboards. Ensure to adjust your vacuum’s height so that the bristles are slightly above the floor — just enough to effectively clean the dirt away.

4. Mop the Floors 

Ideally, you’ll want to vacuum the floors to remove any abrasive particles that can create scratches as you mop. Hardwoods are sensitive to moisture so a wet bucket and a dripping wet mop is a big no-no. Preferably, use a microfiber mop for cleaning hardwood floors as it uses less water for deep and effective cleaning. 

A steam mop may be fast and easy to use but it could allow vapor to penetrate through the boards which can cause floor warping. 
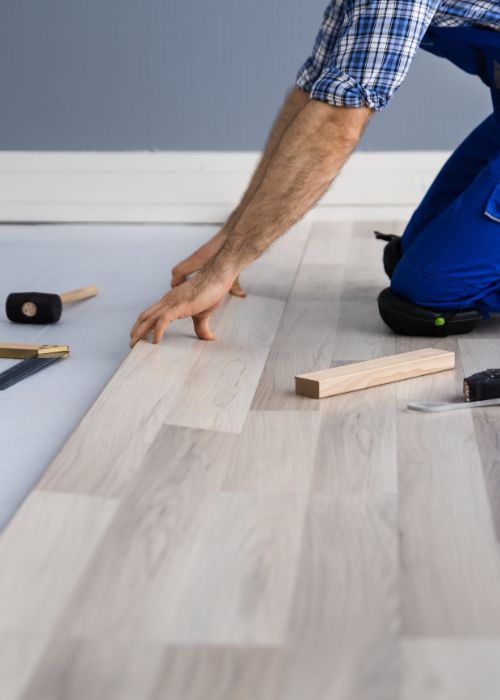
5. Resanding 

If your floors look dull or faded, resanding can give them the extra love they need. Resanding involves filling all gaps, knots, and holes for a smooth and flat surface and the application of stains and finishes for that shiny and beautiful look. 

Experts agree that hardwood floors can take several refinishes in their lifespan so don’t hesitate to have resanding done every few years to make them look brand new again. 

6. Refinishing

Refinishing is a vital part of hardwood floor maintenance. It includes buffing out any imperfections caused by wear and tear, scuffing the existing finish, and applying a fresh coat of finish for a shiny new look. Refinishing your floors every 4 to 6 years also provides an extra layer of protection prolonging the lifespan of your floors. 

Contact Classic Flooring LLC for Quality Hardwood Flooring Maintenance Services

For reliable and budget-friendly hardwood floor resanding and refinishing services, look no further than Classic Flooring LLC. We use the best floor maintenance products to transform every detail of your hardwood floor to perfection. Contact us today for a free flooring maintenance quote!

ByClassic Flooring

How is Hardwood Installation Done?

The beauty, durability, and ability to complement any space make a hardwood floor an excellent addition to any home. If you’re considering having a professional hardwood flooring installation in your home and want to know what the process entails, you’re in the right place. 

This guide will cover the step-by-step process of hardwood flooring installation.

Let’s get started.

1. Hardwood Acclimation

Acclimation, also known as conditioning, means giving the wood planks time to adjust to the home’s temperature and humidity by placing them in the installation environment. The hardwood will need to be delivered 2-14 days before installation, depending on the season and the width of the wood. 

The acclimation process is the most important part of installing a hardwood floor because hardwood floors are greatly impacted by moisture.

If not done right, the floor may cause extreme expansion and contraction, leaving gaps in the boards and floors after installation. Eventually, this may compromise your home’s structural integrity, not to mention lower the lifespan of your hardwood floor.

2. Room Preparation

Room preparation includes moving furniture and appliances and removing the existing floor, baseboards, and base trim. Once the room is clear, the flooring experts will prepare the subfloor by cleaning, drying, and sanding any uneven areas to make it structurally sound. 

A well-prepped subfloor ensures there is no moisture under your new hardwood that could lead to warping.

3. Board Racking

Racking is the process of laying the floor before installation. Some installers prefer to take a plank at a time and install it right away. On the other hand, flooring experts understand that racking saves time and allows them to consider the plank length, wood grain, and color. The result is a beautiful and professionally laid-out floor.

4. Floor Installation

The installers will now complete the actual installation. They will most likely use the nail-down method to join the board to the subfloor, especially if your floor is solid hardwood. However, engineered hardwood can use a few more options, like staple-down or floating installation methods.

5. Sanding and Cleaning

Once the installation is complete, the flooring crew begins sanding to buff out any imperfections for a perfectly smooth floor. They will also collect all the debris to leave a clean and clear room that’s ready for staining and finishing.

6. Staining and Finishing

Finally, the installers will finish the hardwood installation process by staining and finishing the floor. They will apply the first coat of stain and wait for it to dry before applying the final coat. Whether that’s a low luster or high gloss finish, your installers will ensure your floor is perfectly smooth and beautiful.

5. Room Reorganization

Your flooring installers will help you put all the items back in their places and facilitate any other re-installation service needed to make the room fully functional.

Contact Classic Flooring for Quality Hardwood Installation Services

For quality residential hardwood flooring services, look no further than Classic Flooring LLC. Leverage our 50+ years of combined experience and a knack for unmatched design skills for the perfect hardwood flooring installation. Contact us today to request your free service quote to get started.

ByClassic Flooring

How Engineered Hardwood Is Made

Today, more than 50% of all wood floors installed in the U.S. are constructed using engineered hardwood. Engineered wood flooring comes with all of the natural beauty of solid wood plus the strength and versatility to withstand the modern pace of life. If you wonder how engineered hardwood is made, you have come to the right place. This article provides information on how engineered hardwood flooring is made, and some of the many benefits of hardwood floors.

how engineered hardwood is made

What Is Engineered Hardwood?

Engineered hardwood is constructed of both hardwood and plywood materials. It’s made up of anything between 3 and 12 layers of ply. Engineered hardwood flooring is a great way to add timeless beauty to any room in your home. The construction has high-performance and durable qualities to maintain your floor in tiptop condition for many decades to come.

Each layer of wood in an engineered hardwood floor is positioned in a different direction to prevent the engineered hardwood from bowing and warping under moist conditions similar to solid wood floors. Engineered wood floors are easy to clean and maintain over time.

How Engineered Hardwood Is Made

There are three main sections to an engineered hardwood floor such as the top layer, the central core, and the backing layer. The solid top layer has the pattern and color you normally see and feel when you walk on an engineered wood floor. It’s also known as the wear layer and may differ depending on the manufacturer of the floor. Most engineered wood floors can be recoated regardless of the thickness of the wear layer. The middle layer of the floor is known as the central core.

Each layer of the central core is laid at a 90-degree angle to the layer that is above or below. This is done to ensure maximum dimensional stability. The core layer is usually made up of a composite of softwood, high-density fiberboard, or plywood. The central core gives stability to the engineered wood floor. Below the central core, there is the backing layer for increased strength and durability.

Different Materials & Types Of Engineered Hardwood Floors

Engineered wood floors are categorized by their installation method, and there are three types of installation methods:

  • The adhesive installation method – The planks are glued onto the subfloor 
  • The nail-down installation method – The planks are nailed down onto the wooden subfloor
  • The click-lock installation method – The tongue-and-groove planks are clicked together without any adhesive or nails

Materials

  • Oak
  • Hickory
  • Birch
  • Maple
  • Bamboo

Benefits Of Engineered Hardwood Flooring

  1. Extreme durability
  2. Looks like real wood
  3. Aesthetically appealing
  4. Engineered wood floors can be sanded and refinished
  5. They are easy to install, clean, and maintain
  6. It won’t break the bank
  7. Engineered wood doesn’t expand or contract to the same extent as solid wood
  8. They are available in a whole range of species, grades, and finishes

If you are looking for high-quality hardwood flooring installation in Idaho Falls, you don’t have to look further than Classic Flooring. We offer the widest selection of high-quality flooring in Idaho Falls.