The beauty, durability, and ability to complement any space make a hardwood floor an excellent addition to any home. If you’re considering having a professional hardwood flooring installation in your home and want to know what the process entails, you’re in the right place.
This guide will cover the step-by-step process of hardwood flooring installation.
Let’s get started.
1. Hardwood Acclimation
Acclimation, also known as conditioning, means giving the wood planks time to adjust to the home’s temperature and humidity by placing them in the installation environment. The hardwood will need to be delivered 2-14 days before installation, depending on the season and the width of the wood.
The acclimation process is the most important part of installing a hardwood floor because hardwood floors are greatly impacted by moisture.
If not done right, the floor may cause extreme expansion and contraction, leaving gaps in the boards and floors after installation. Eventually, this may compromise your home’s structural integrity, not to mention lower the lifespan of your hardwood floor.
2. Room Preparation
Room preparation includes moving furniture and appliances and removing the existing floor, baseboards, and base trim. Once the room is clear, the flooring experts will prepare the subfloor by cleaning, drying, and sanding any uneven areas to make it structurally sound.
A well-prepped subfloor ensures there is no moisture under your new hardwood that could lead to warping.
3. Board Racking
Racking is the process of laying the floor before installation. Some installers prefer to take a plank at a time and install it right away. On the other hand, flooring experts understand that racking saves time and allows them to consider the plank length, wood grain, and color. The result is a beautiful and professionally laid-out floor.
4. Floor Installation
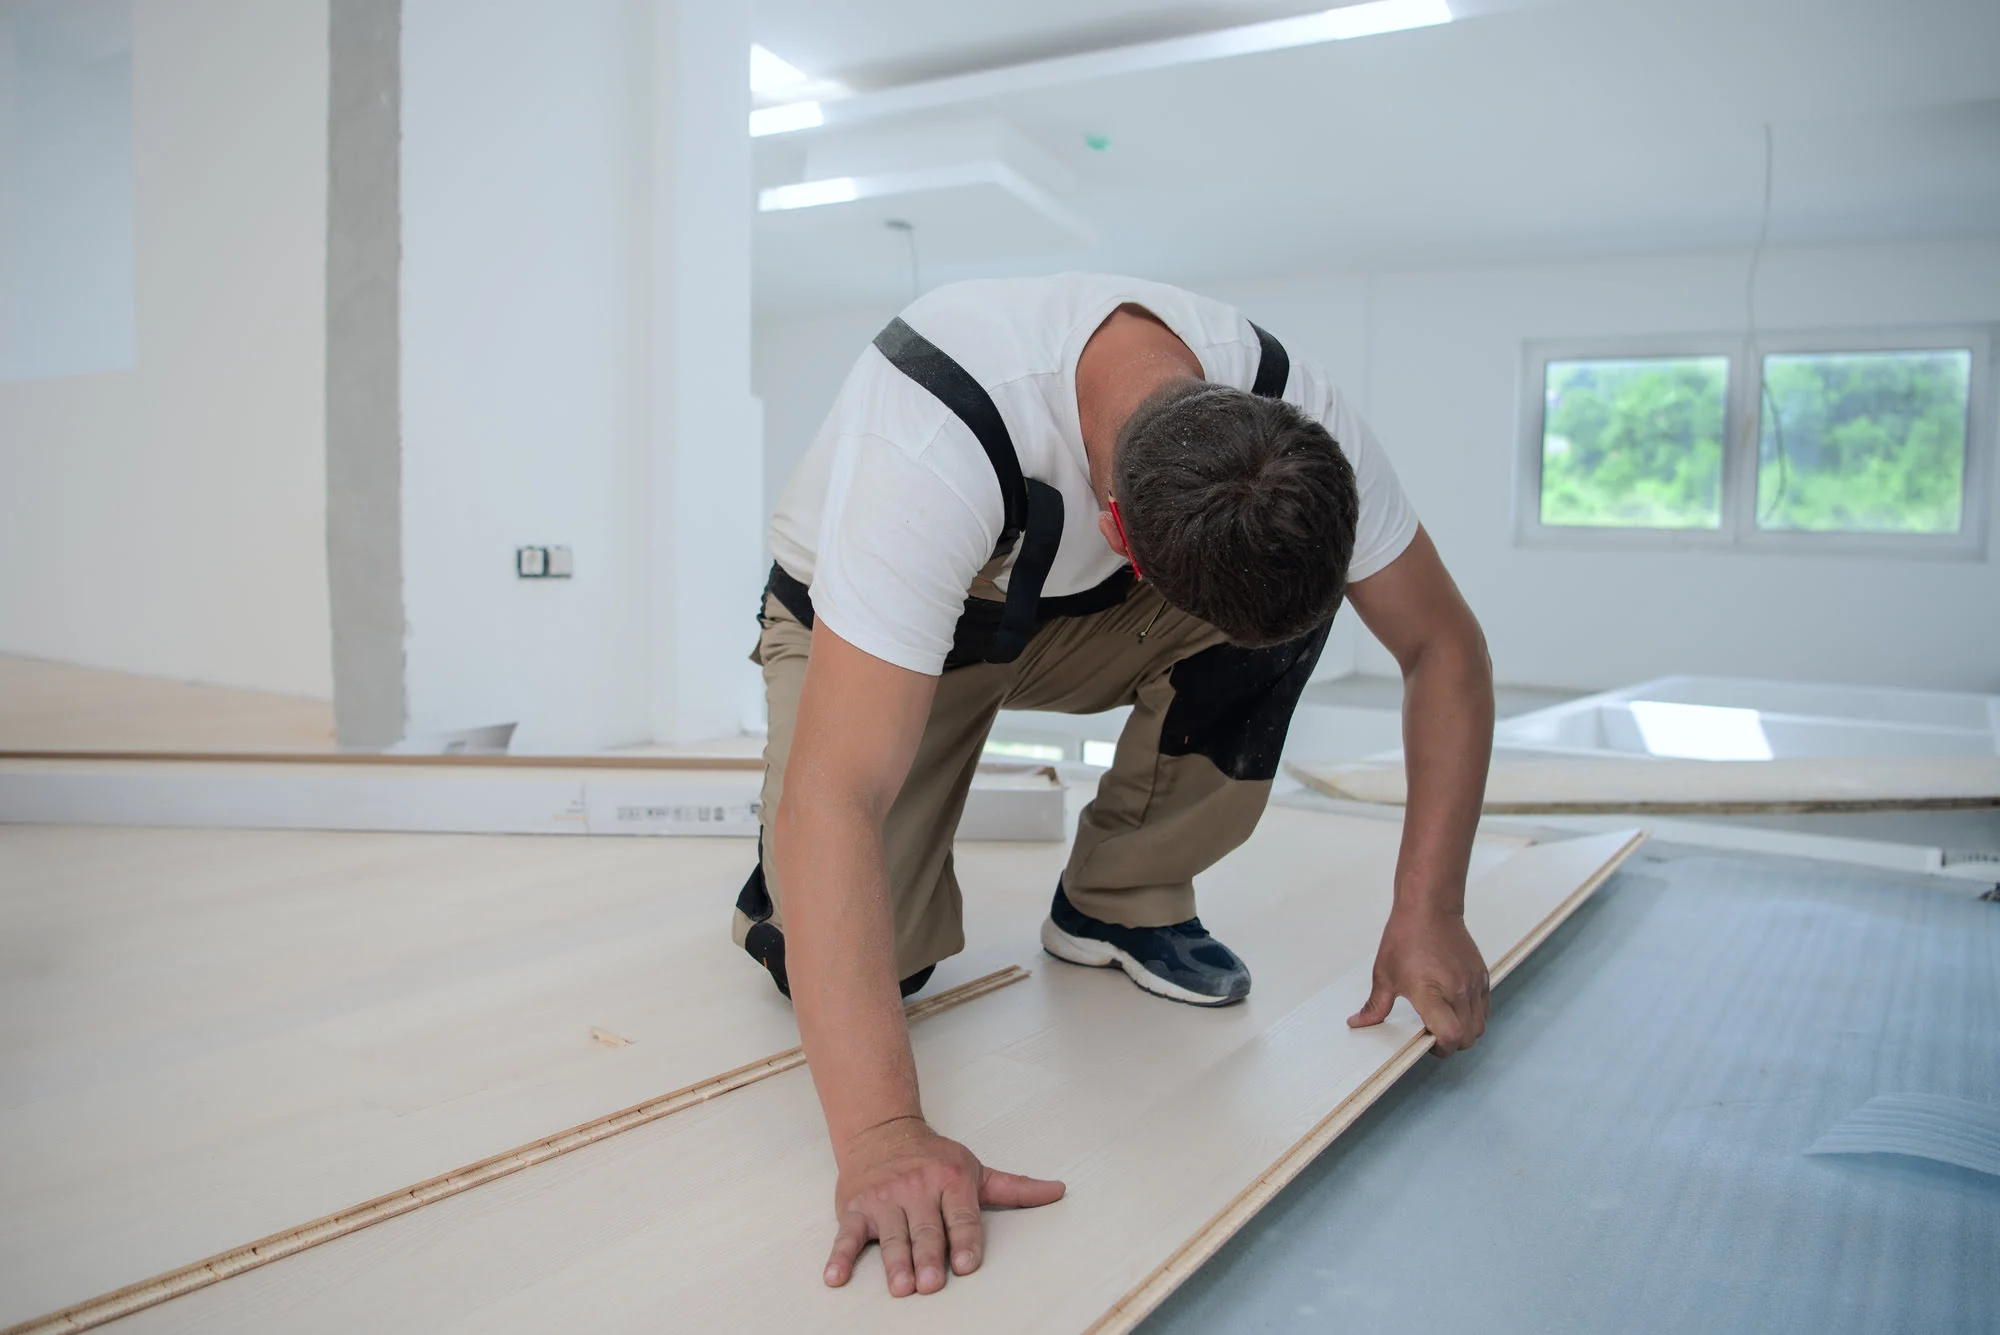
The installers will now complete the actual installation. They will most likely use the nail-down method to join the board to the subfloor, especially if your floor is solid hardwood. However, engineered hardwood can use a few more options, like staple-down or floating installation methods.
5. Sanding and Cleaning
Once the installation is complete, the flooring crew begins sanding to buff out any imperfections for a perfectly smooth floor. They will also collect all the debris to leave a clean and clear room that’s ready for staining and finishing.
6. Staining and Finishing
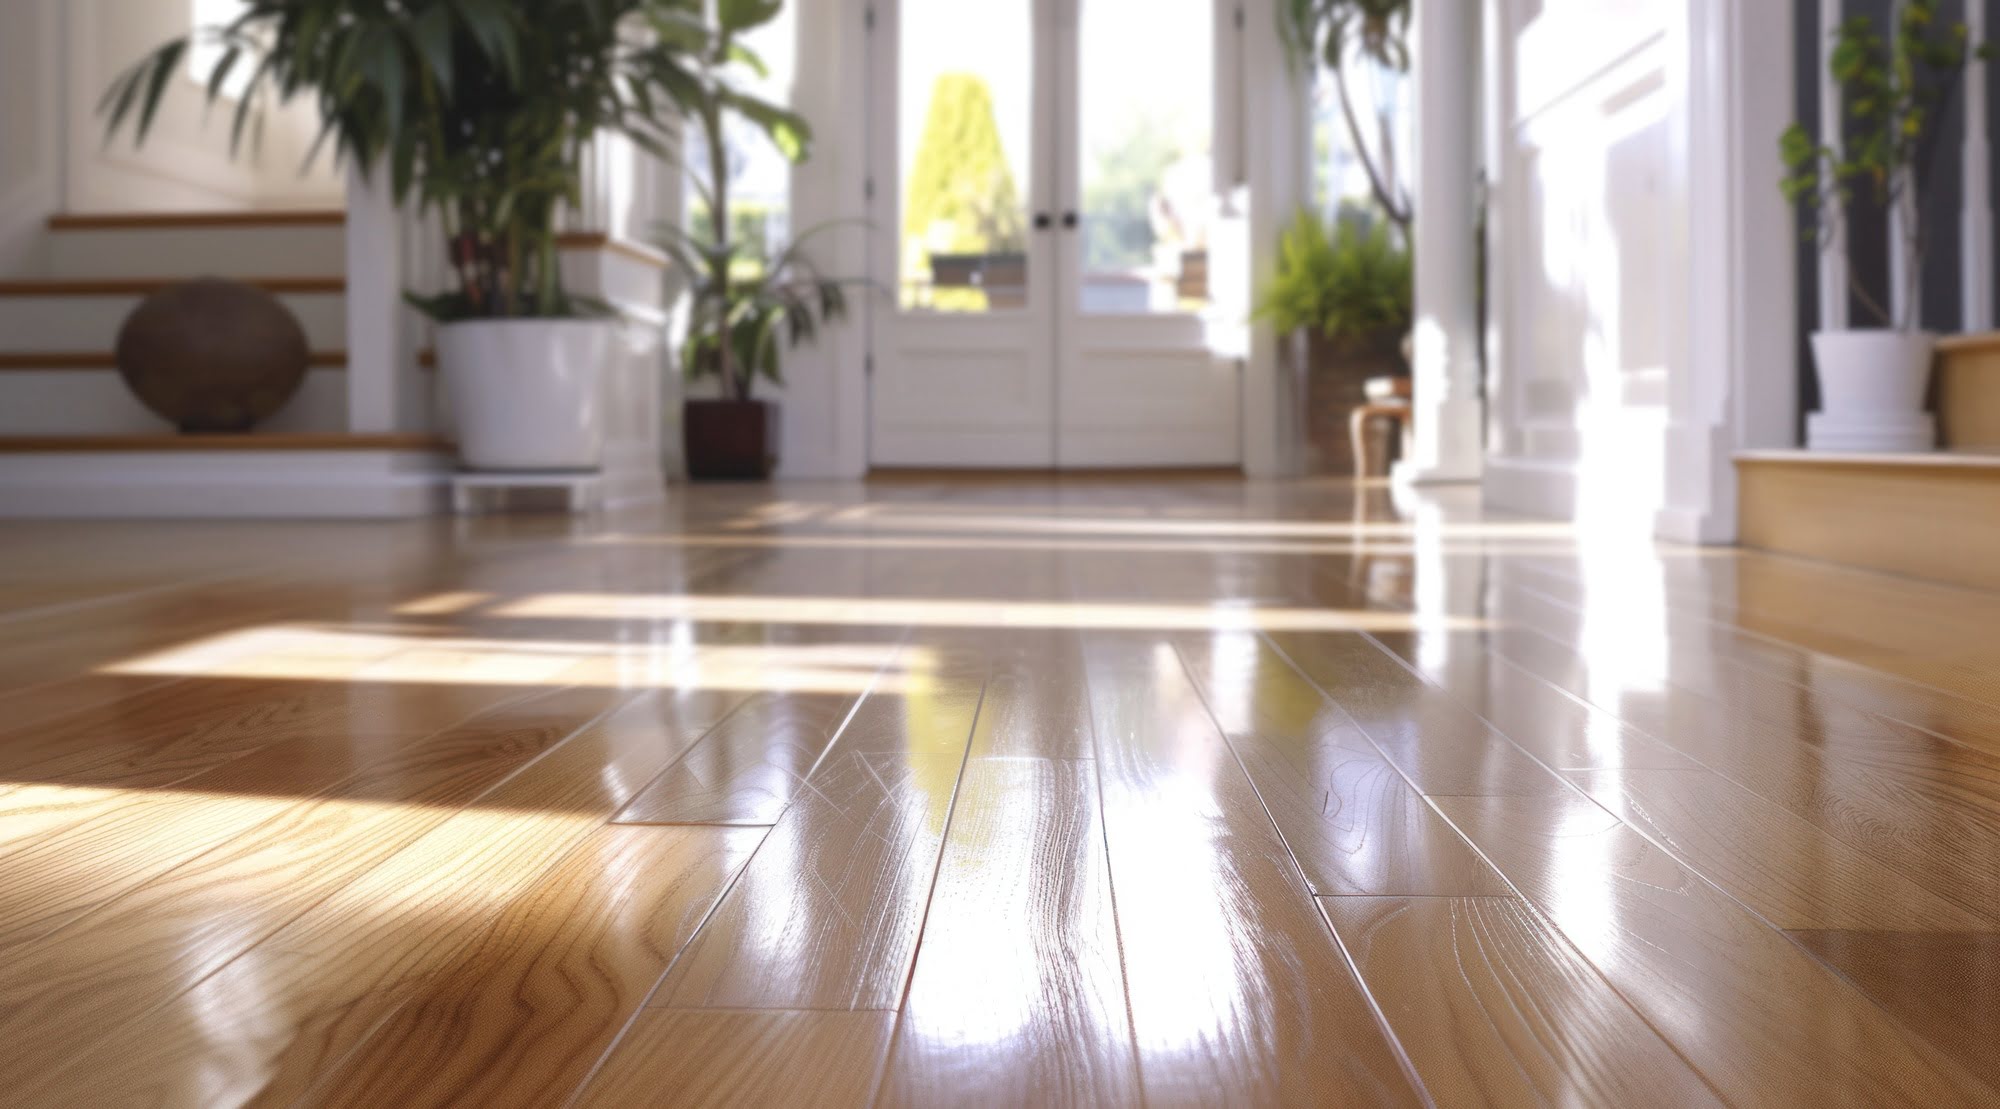
Finally, the installers will finish the hardwood installation process by staining and finishing the floor. They will apply the first coat of stain and wait for it to dry before applying the final coat. Whether that’s a low luster or high gloss finish, your installers will ensure your floor is perfectly smooth and beautiful.
5. Room Reorganization
Your flooring installers will help you put all the items back in their places and facilitate any other re-installation service needed to make the room fully functional.
Contact Classic Flooring for Quality Hardwood Installation Services
For quality residential hardwood flooring services, look no further than Classic Flooring LLC. Leverage our 50+ years of combined experience and a knack for unmatched design skills for the perfect hardwood flooring installation. Contact us today to request your free service quote to get started.


About the author